Flashing Repair Services for Property Owners
This page provides information about flashing repair services and helps compare local contractors who handle the work.
- - Residential homeowners seeking reliable flashing repair services for their roofs or gutters.
- - Commercial property owners needing professional flashing repairs to maintain building integrity.
- - Property managers looking to connect with local contractors for timely flashing repair solutions.
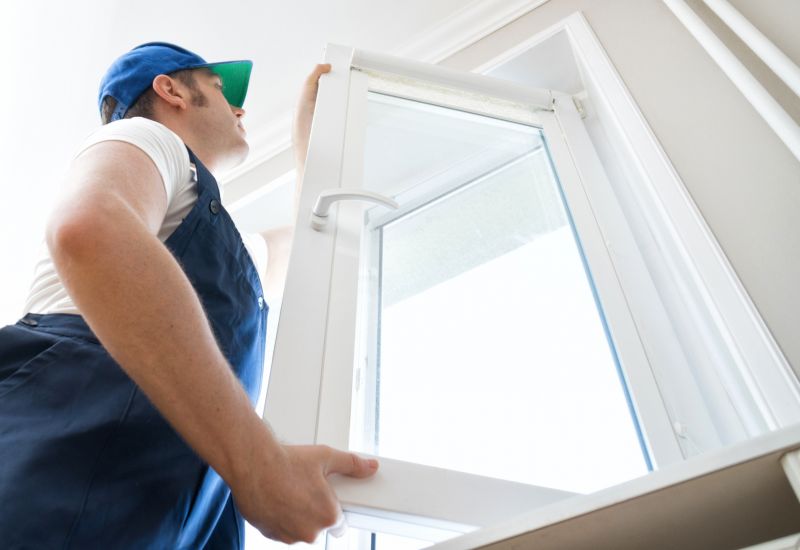

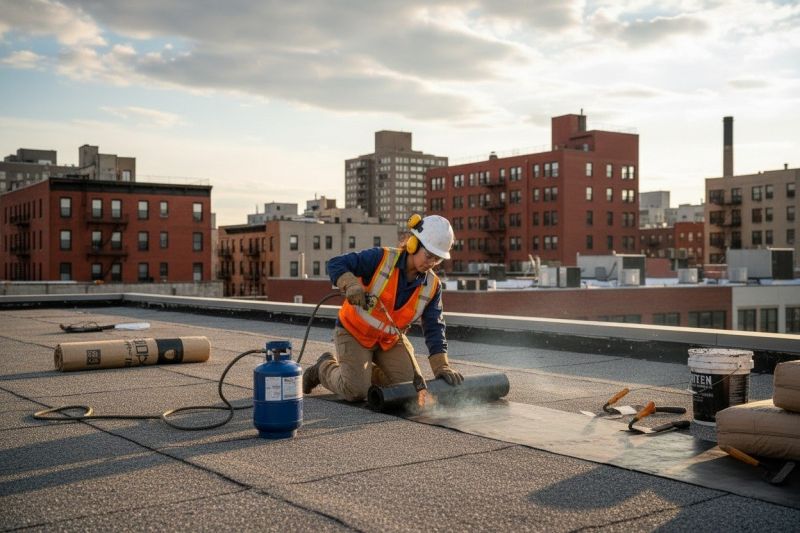
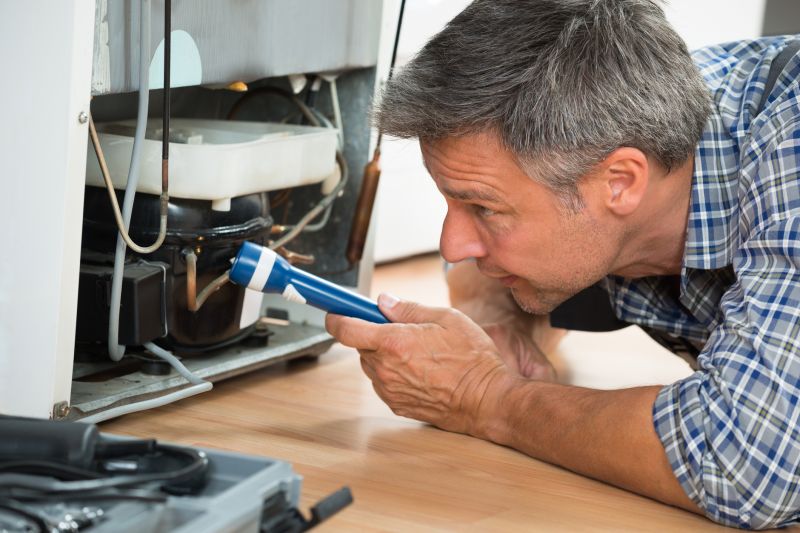
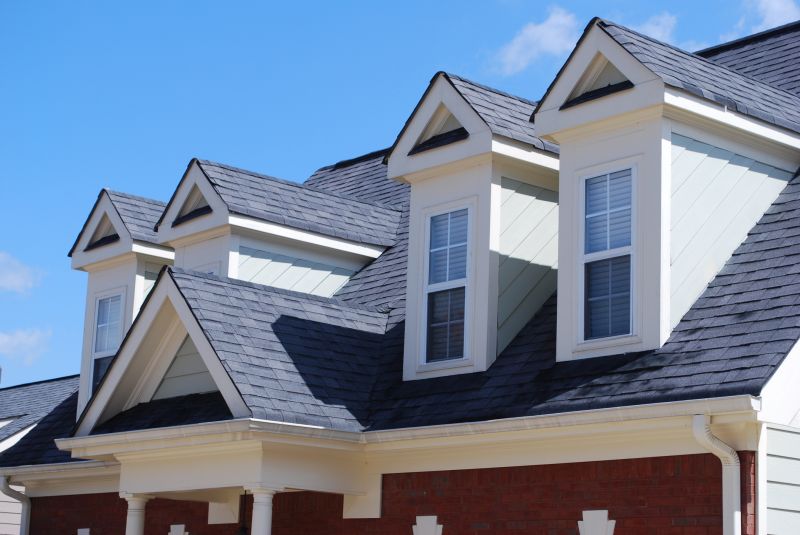
Flashing repair services are essential for maintaining the integrity and appearance of your property’s exterior. When flashing becomes damaged, loose, or corroded, it can lead to water leaks, mold growth, and structural issues. Property owners often seek help from local contractors who specialize in identifying and fixing flashing problems, ensuring that the protective barrier around roofs, chimneys, vents, and windows remains effective. These professionals handle a range of repair needs, from replacing worn sections to sealing vulnerable areas, helping to prevent further damage and preserve the property’s value.
Connecting with experienced service providers is a practical way to address flashing concerns efficiently. Local contractors offer a variety of repair solutions tailored to different types of buildings and flashing materials. Property owners can expect straightforward assessments and reliable repairs that restore the functionality of flashing components. Whether dealing with visible damage or signs of leaks, these local pros can help determine the best course of action to keep a property protected from water intrusion and related issues.
This guide provides helpful information to understand flashing repair needs and considerations. It assists in comparing local contractors and connecting with service providers experienced in handling flashing repairs. The goal is to help visitors gather the basics needed to make informed decisions about their project.